
Our 6×6 Tree Fort on Block Footings
Draft post. The date shown is a placeholder; the real publish date is set when this post is final and Derek approves it.
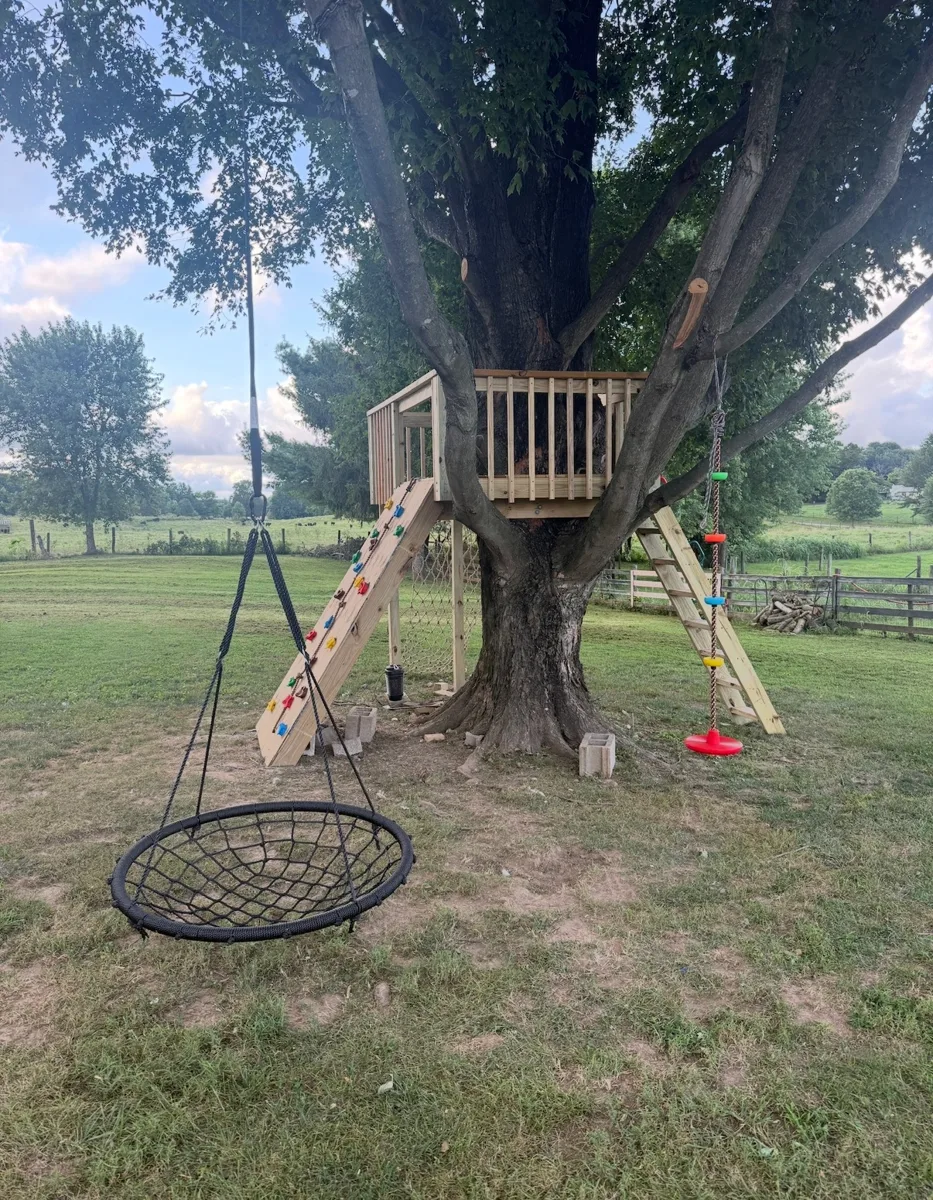
First, the name. It’s a tree fort. It stands next to a tree on its own four posts. It isn’t bolted into the tree, and technically it isn’t a treehouse. The kids are adamant that it’s a treehouse anyway, so that’s what we call it.
I wanted to build something the kids could climb, play on and grow into, without turning the backyard into a construction site for a month. [DEREK: confirm the “why”, e.g., what prompted the build and roughly when you built it.] Here’s how we did it and what I learned.
The plan in one paragraph
It’s a 6 ft × 6 ft platform about 6 feet off the ground, on four 4×4 pressure-treated posts. The posts sit in galvanized retrofit post bases fastened with Tapcons to solid concrete blocks. There’s a railing with 2×2 spindles around the deck, a plywood climbing wall on one side and an angled ladder on another. Since then we’ve added a ninja line, a web swing and a tractor-tire sandbox underneath. [DEREK: confirm which add-ons are on yours now.]
Why block footings instead of concrete piers
This was the big decision. The usual advice for anything elevated is to dig deep holes and pour concrete. That’s a lot of digging, a lot of concrete, and posts locked in forever.
We went another way: compacted pads, solid concrete blocks and retrofit post bases. Here’s how it works:
- Lay out the four post locations with string lines so the platform sits where you want it next to the tree, with at least 12–18 inches of clearance from the trunk.
- Dig shallow pads, 4–6 inches deep, and compact the soil hard.
- Set solid concrete blocks and get the tops of all four within about ¼ inch of level. Shim if you need to.
- Fasten a galvanized retrofit post base to each block with 3–4 ¼” × 1¾” Tapcon concrete screws. You’ll need an SDS or hammer drill for the holes.
- Stand the posts in the bases, brace them plumb and secure them. Leave the posts long and cut them to final height after the platform is level.
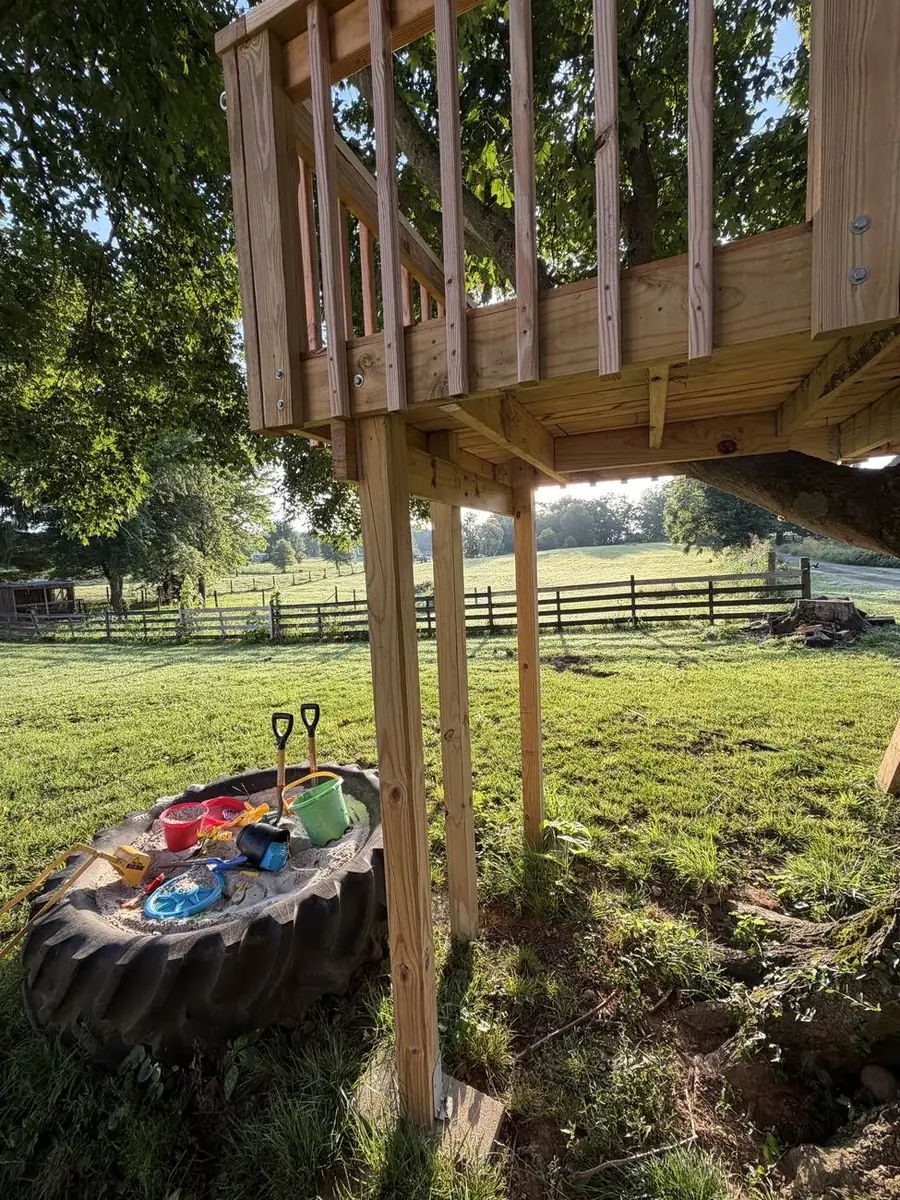
The trade-off is that block footings rely heavily on bracing for stability. Diagonal braces from each post up to the rim at about 45° are not optional. They’re what keeps the whole thing from racking side to side. One per post is the minimum, and two is better.
[DEREK: confirm the ground conditions and how the footings have held up, e.g., any settling or shimming after the first winter? Only state what actually happened.]
Framing the platform
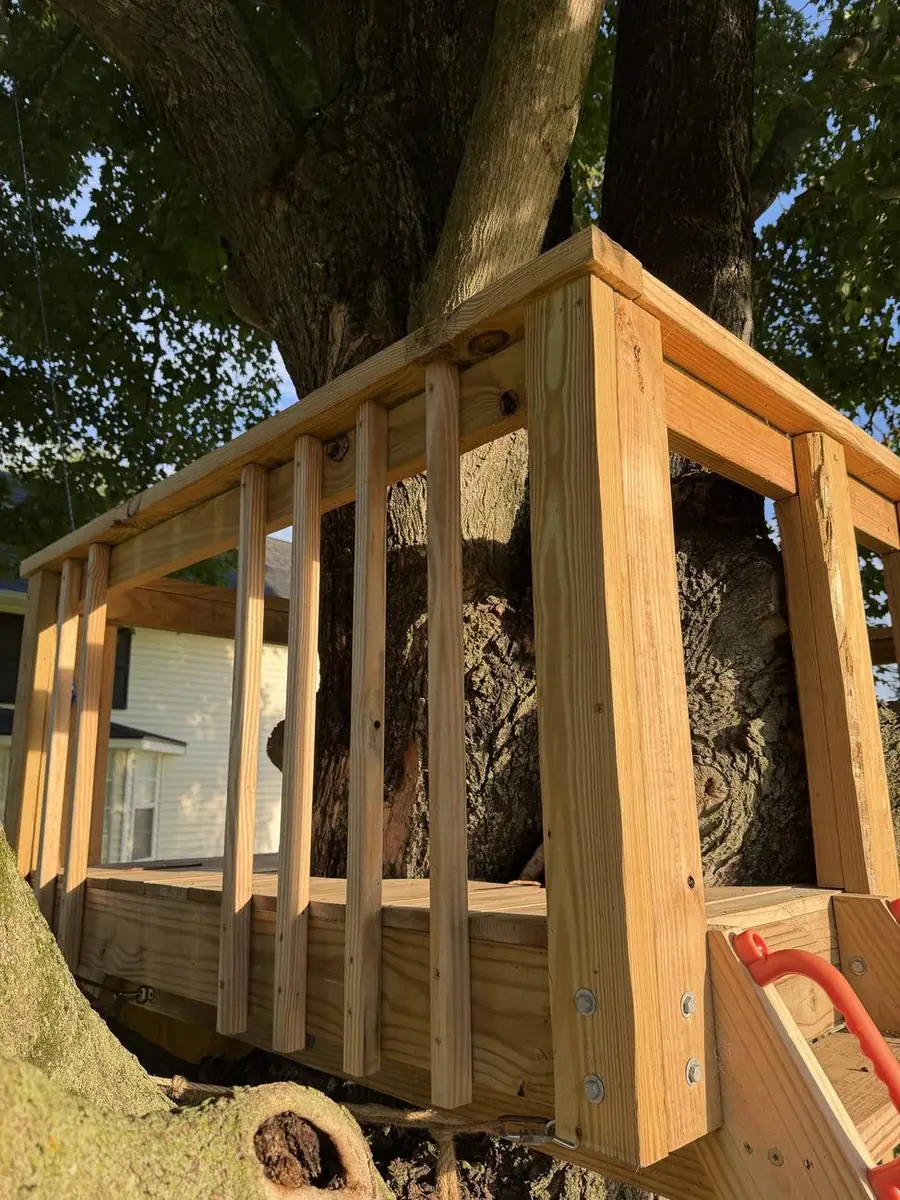
- Rim joists: four 2×6s for a 72 × 72 inch frame, assembled square with structural screws at the corners
- Height: I raised the rim to about 72 inches to the top of the future decking, leveled it, and fastened it to each post
- Interior joists: 2×6s at 16 inches on center, with joist hangers and solid blocking
- Tree clearance: at least 3–4 inches all the way around the trunk. Never bolt tight to the tree, and never girdle it. Trees move and grow.
Structural screws (the GRK or Spax style) did most of the heavy lifting in the framing. They cost more than deck screws, but for something kids climb on, I didn’t want to save money there.
Decking, railings and the safety stuff
Decking is 1×6 pressure-treated boards with small drainage gaps, fastened at every joist.
The railing is where I slowed down. The top rail sits at least 36 inches above the deck, and the 2×2 spindles have no more than 3½ inches of clear space between them so a small head can’t get through. Every spindle gets two screws top and bottom. When it’s done, grab the rail and try to shake it. It shouldn’t move.
The climbing wall and ladder
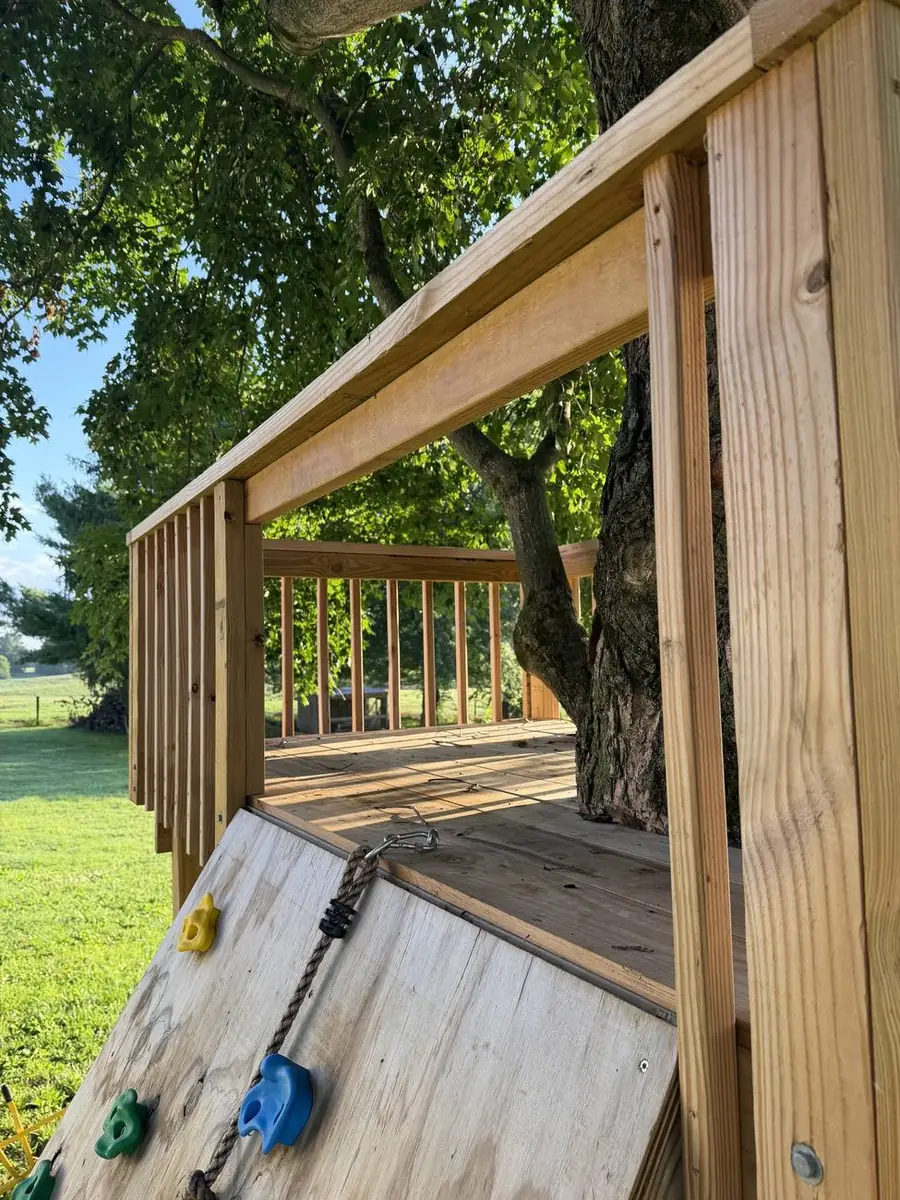
The climbing wall is a frame of three vertical 2×6s with horizontals, faced with ¾-inch exterior plywood. Install the T-nuts from the back before the plywood goes on, then bolt the holds on from the front. Every hold got tested with full adult weight before the kids touched it. [DEREK: confirm, and say who tested it.]
The ladder uses two 2×6 stringers at a comfortable 60–70° angle, with rungs every 10–12 inches. The play handles at the top are worth adding. The moment of stepping off a ladder onto a deck is exactly where little hands want something to grab.
Tools that earned their keep
- Impact driver: my Milwaukee M12 FUEL. It drove most of the structural screws.
- Ratchet: a Milwaukee M12 FUEL 3/8” ratchet for the lag screws
- Digital level: an Empire. Getting four posts on four separate blocks to agree is a job for a good level. [DEREK: confirm the model.]
- Miter saw: my DEWALT 12-inch
- Magnetic sweeper: a Hillman 12-inch. More on that below.
[DEREK: confirm these were all used on this build.]
What I’d tell a friend before they start
Call 811 first. Even for shallow pads. It’s free, and it beats finding a line with a shovel.
Keep the kids off it until it’s done. The temptation to let them “just try it” halfway through is real. Don’t. Finish the railings, load-test the platform with a few adults and test every hold. Then hand it over.
Sweep for fasteners. You’ll drop more screws than you think in the grass, right where bare feet will be all summer. A big magnet on a stick fixes that, and the kids love this job.
Leave posts long. Cut them once the platform is level, not before.
It costs more than you think. The plan’s cost breakdown estimates about $520–$750 in core materials at 2026 prices, before optional play features. [DEREK: what did yours actually cost, roughly?]
[DEREK: add one honest miss, e.g., a cut you made twice, something you’d frame differently, or a step that took longer than planned. Only use something that actually happened.]
Every spring
We inspect it every spring and after big storms. We tighten fasteners, look for rot or loose spindles, check how the tree is growing next to the deck, and sweep again with the magnet. [DEREK: confirm this is your routine.]
Want to build one?
The full build is in the Kids Treehouse Plan ($17). It’s a 17-page PDF with the safety notes, tool list, hardware schedule, lumber list, cost breakdown, a detailed cut list, step-by-step instructions and real photos of our fort.
Whether or not you use our plan, please read our DIY Safety Disclaimer, check your local codes, and supervise the kids. Then go build something they’ll remember.
— Derek